7 Yoga Exercises a 69-Year-Old Instructor Does To Look Half Her Age
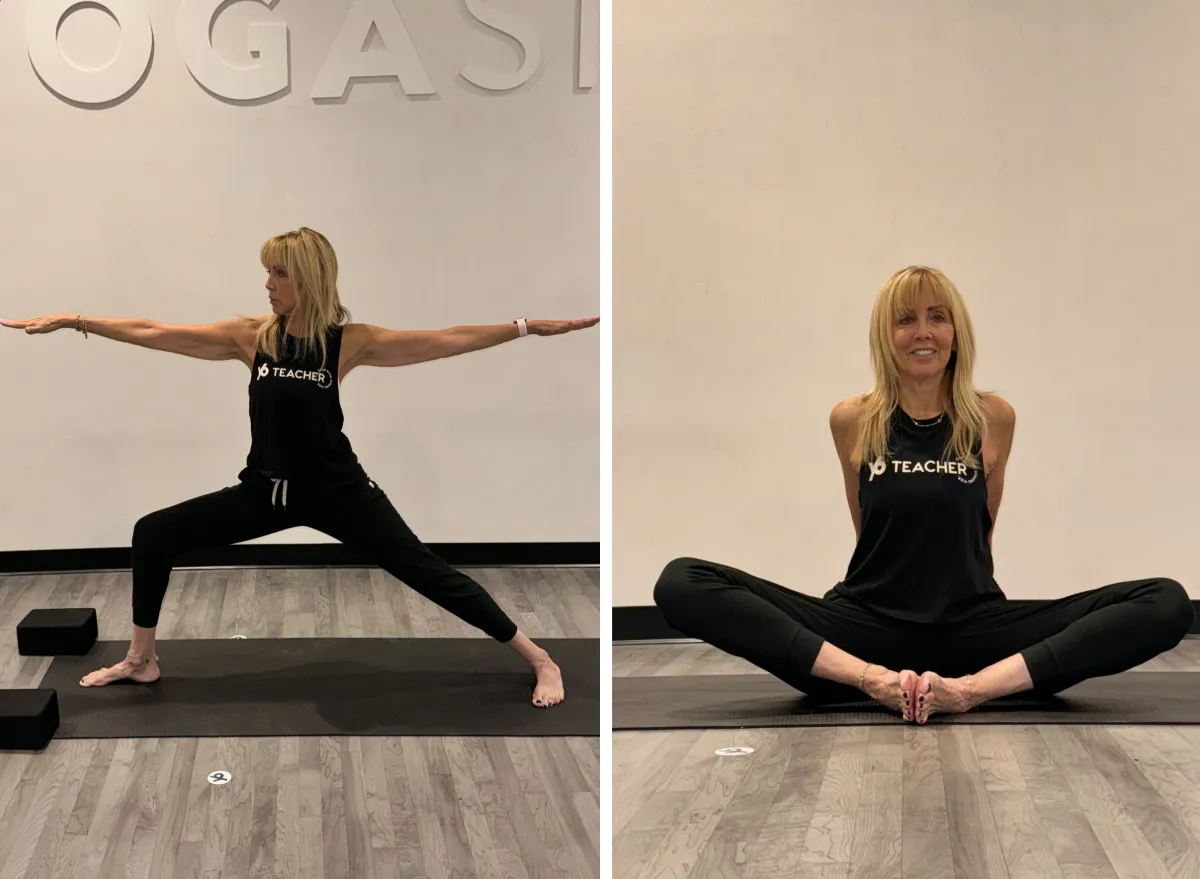
Aging gracefully and staying fit, strong, and healthy calls for just the right diet and workout habits. For instance, research shows that adopting something like a regular yoga practice into your routine can improve balance, flexibility, and mobility, along with lowering your resting heart rate, increasing endurance, and boosting your overall physical and mental well-being. If you're unsure of where to get started, take a cue from 69-year-old Debbie Wolff, lead teacher at YogaSix, West Boca, who shares the top yoga exercises she does to look younger. She recommends these yoga postures to any individual who's 65 or above.
"In order to have a well-rounded yoga practice at any age, one should consider incorporating strength, flexibility, mobility, and balance, as well as some meditative aspects found through breath control," Wolff explains. "At an older age, there are some very fit individuals as well as some very unfit. I tried to choose postures with both fitness levels in mind."
Keep reading to learn all about the go-to yoga exercises a 69-year-old instructor does to look younger. And when you're finished getting inspired, be sure to check out the 10 Best Balance Exercises To Keep You Active & Mobile as You Age.
Warrior II (Virabhadrasana II)
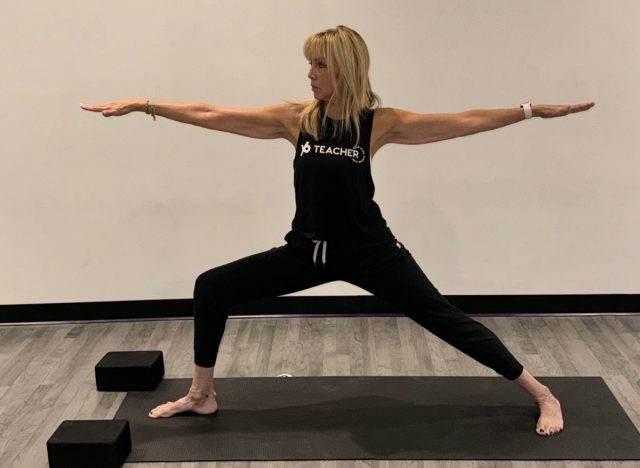
This yoga exercise helps you work on stability and strength. Warrior II promotes an inner state of calmness and focus and opens up your hips externally as you sit into the pose.
Stand tall at the top of your yoga mat with your arms at your sides and your palms open. "Step your right foot generously toward the back of the mat," Wolff instructs. "With your left foot forward, turn your back foot toward (2 o'clock) the front right corner of your mat. Bend your front knee 90 degrees—[or less if that does not sit well with your body]. [Lift your arms to shoulder height as you bring] your right arm further toward the back leg to have the shoulders directly above the hips." Hold this pose for three to five breaths before repeating on the other side.
Tree Pose (Vrksasana)
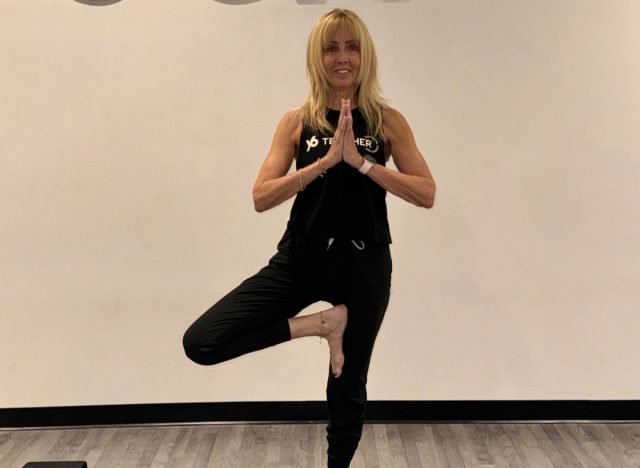
Next, we'll move into tree pose. This exercise supports stability, balance, strength, and internal focus.
"From mountain pose, place your weight [on] the left foot," Wolff instructs. "Hug your left hip to the midline for stability and strength, [and] turn your right hip open to the right side." You can either lift your right foot to your ankle or place it above or below your knee. Keep your arms at your heart's center, by your sides, or overhead. "If balance is not available, use a wall or any piece of stable furniture for support. A block is also useful to place the lifted foot onto," Wolff suggests. Repeat on the opposite side.
Cobbler's Pose (Baddha Konasana)
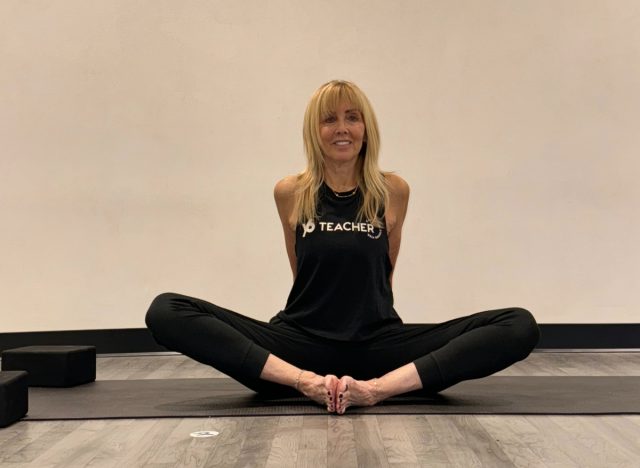
You can perform cobbler's pose from a seated position or lying down on your back. This yoga exercise works your strength, flexibility, and inner focus.
"Bring the soles of the feet together to form a large diamond (for those more flexible, bring [your] feet closer to the groin)," Wolff explains. "Hold onto [your] ankles [or] shins, or have [your] hands on the floor on either side or in front and behind for stability and length. Hold the pose for three to five breaths or more as you start to feel the hips relax and the inner groins release."
Cobra Pose (Bhujangasana) or Sphinx Pose (Salamba Bhujangasana)
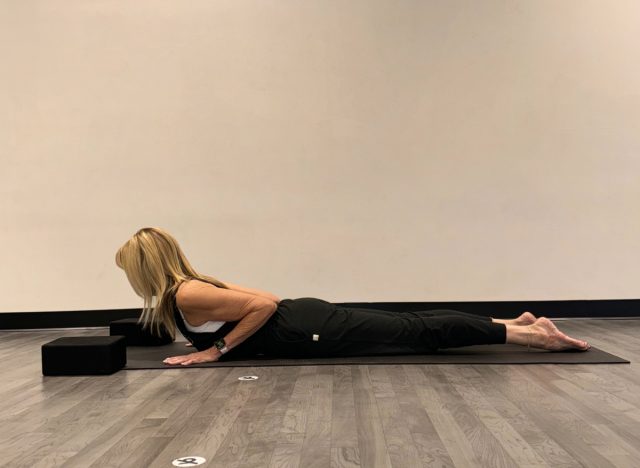
In order to counterpose any forward folding spinal flexion, which is typical in many yoga practices, extending your spine is key. "For many older adults, this can be compromising, so they should ask their medical professional if it is safe for their bodies," Wolff stresses.
To get started, lie down flat on your stomach for sphinx pose. Place your forearms on the ground elbows-width apart with your legs extended behind you. "Press the forearms into the mat to lift out of the shoulders," Wolff instructs. "Keep your head held upright, lift the lower abdomen inward, [and] pull the heart forward. Find the lift below the hip bones and above the top of the pubic bone triangular space." Hold this pose for three to five breaths.
To counterpose, bring your hips to your heels, and keep your arms at your sides to assume child's pose.
"For a perhaps less stressful (for the back ) version, keep [your] arms next to [your] chest. [Your] elbows [should] hug inward toward ribs; pull the heart through [and keep your] head lifted on top of shoulders for cobra pose. (Think the head of the cobra snake)," Wolff says.
Bridge Pose (Setu Bandha Sarvangasana)
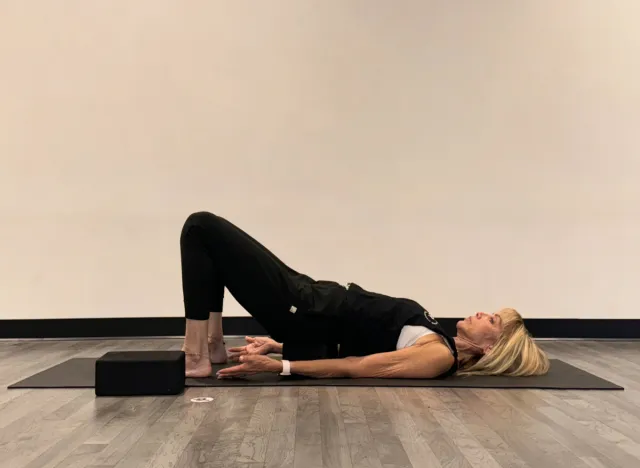
Bridge pose strengthens your hips, glutes, abs, and thighs. It also opens up the chest and shoulders. For some yogis, it's an excellent way to prepare for a bigger backbend. You can do this exercise on your back or by placing a yoga block below your sacrum.
"Lie down with [your] knees bent, hip-width apart. Heels [should be] in line with [your] sitting bones. (If you have trouble keeping your knees in line, you can place a block between the knees to help with the alignment and increase strength)," Wolff says. "Lift [your] hips in the air. Bring [your] arms behind [your] back, and interlace [your] fingers (unless you are on the block). Press through the shoulders and feet to create the lift, and hold the pose [for] three to five breaths."
For a counterpose, lie down flat on your back, and bring your knees to your chest.
Spinal Twist
On your back, bring your right leg to your chest. Keep your left leg extended on the floor or bent if you have a sensitive lower back. "Draw the knee to the chest, and with the opposite hand, bring the knee across the body while keeping the right arm out to the side shoulder height or lower. Be conscious not to roll all the way over but to keep the back and shoulder connected to the floor," Wolff instructs. Hold for three to five breaths, then repeat on the opposite side. If you feel comfortable doing so, do this exercise by bringing both knees to the chest and twisting them both at the same time.
Dead Bug
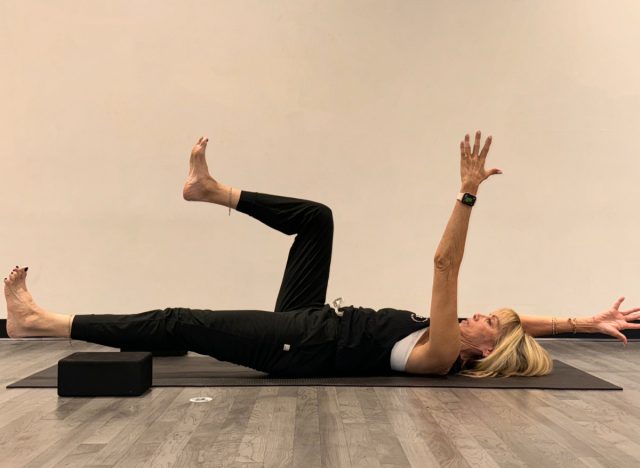
Last but not least, these yoga exercises wrap up with the dead bug. Lie down flat on your back, lift your legs, bend your knees to 90 degrees, and raise both arms toward the ceiling with palms facing each other. "Extend the right arm behind you and the left leg (bent or straight as needed) in front of you simultaneously," Wolff instructs. "Then, return to [the] starting point and repeat the other side. Do three reps on each side.
Be sure to breathe in as you lower your leg and arm, and breathe in when lifting them back up to the start position. To make this exercise more challenging, feel free to hold light weights in your hands.


