17 Tricks for Carving a Pumpkin Perfectly
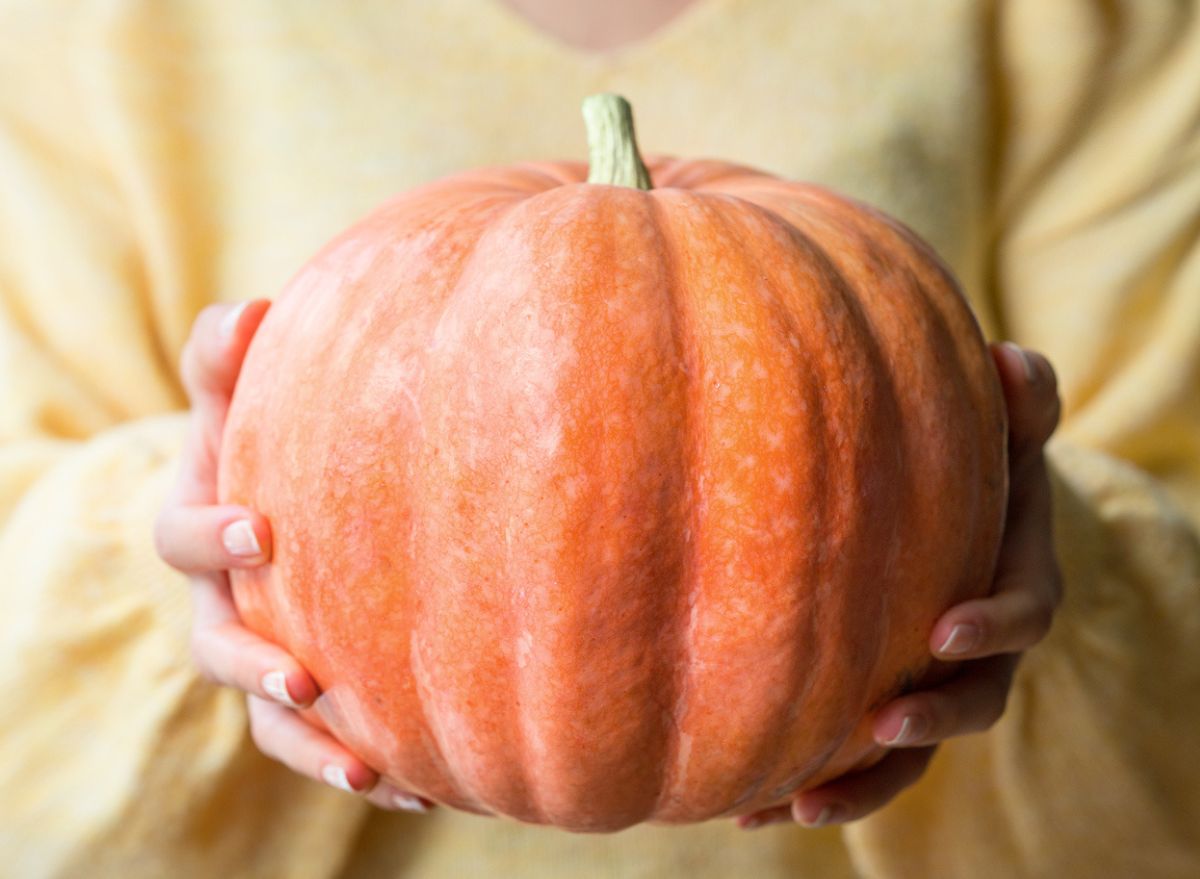
Carving a pumpkin is quintessential Halloween fun, from picking the perfect pumpkin at the patch (after taking a detour in a corn maze) to choosing a spooky design to etch into your Jack-O-Lantern. You’re not even bothered when you’re scooping out those slimy, goopy pumpkin guts—it’s on-brand with Halloween, after all!
Whether you’re an amateur pumpkin carver (a classic Jack-O-Lantern will do just fine, thank you very much) or a skilled sculptor with a masterpiece in mind, knowing how to get your pumpkin to cooperate with your vision is key.
So get ready to turn your front porch into a gallery; here are 17 pumpkin carving tips for your most boo-tiful pumpkin yet.
And for more, check out these 15 Classic American Desserts That Deserve a Comeback.
Find the perfect pumpkin.
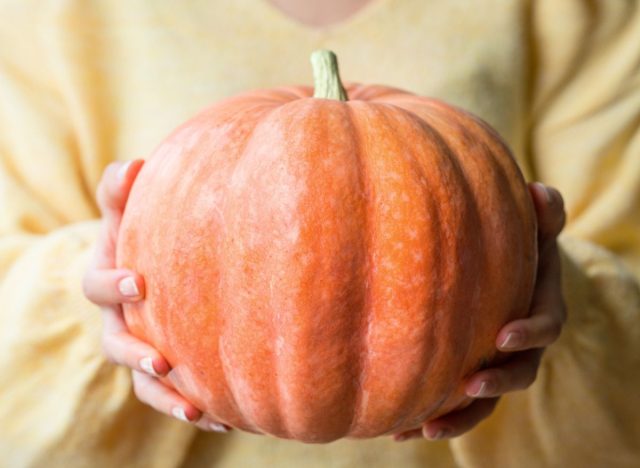
The first step in carving a great Jack-O-Lantern is finding the perfect pumpkin. To do exactly that, you’ll want to search for one that’s got a smooth surface. Avoid pumpkins with scratches and cuts, unless you plan to weave those imperfections into your design, the Farmers’ Almanac advises.
Also, look for a pumpkin with a flat bottom; it will keep it steady when you’re carving.
Know what size pumpkin you need.
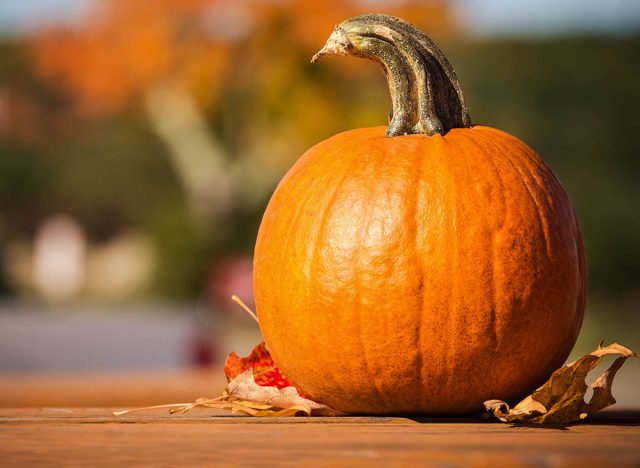
When picking your pumpkin, keep size in mind, too. If you’re making a simple Jack-O-Lantern face, a small pumpkin will help keep things to scale, according to the Farmers’ Almanac.
Medium pumpkins, meanwhile, are good for most stencils. And for more intricate designs, you’ll want a bigger pumpkin.
Find a pumpkin that will make carving easy.
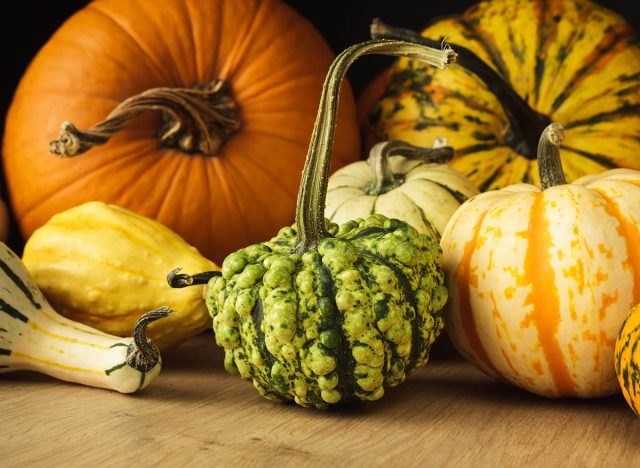
Opt for a lighter color pumpkin, the Farmers’ Almanac suggests. They are usually softer, which makes carving easier. Also, when it comes time to carve, make sure your pumpkin is room temperature.
Skip over the bad pumpkins.
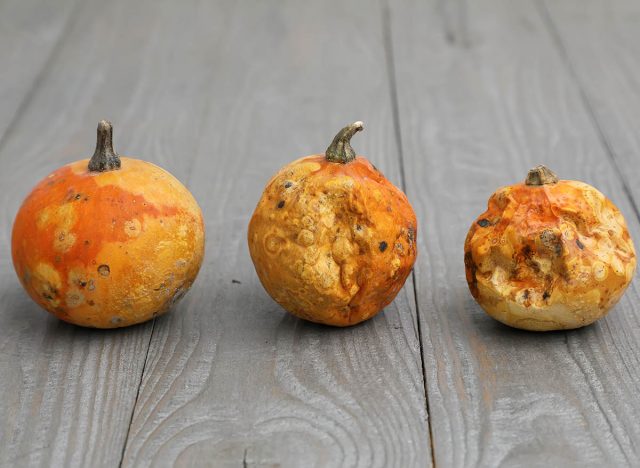
Avoid pumpkins with bruises, says Eliza Cross, the author of Pumpkin it Up and 101 Things to Do With Pumpkin. “Shake the pumpkin, and pass it up if you can hear liquids sloshing inside,” she says. To make sure you’ve got a prime pumpkin, give it a sniff, too, she suggests. It should have a fresh aroma.
Be careful with that stem.
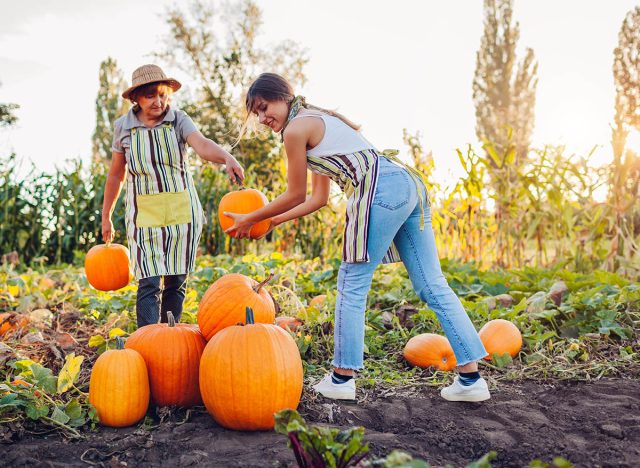
Once you’ve found the perfect pumpkin, carry it from underneath. If you hold it by the stem, it can snap off, says Cross. If you’re planning to bring a big haul home, take a wagon to the pumpkin patch.
Speaking of healthy stems, look for an intact, green one.
Use the right scooping tools.
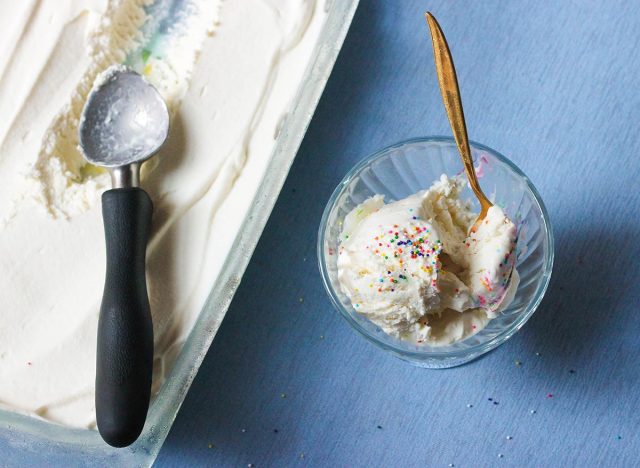
Amid the Halloween decorations at the store, you’ll probably spot “pumpkin scoops” marketed for carving your pumpkins. But you may have the tools you need at home to scoop out the pulp.
Cross suggests using a metal ice cream scoop, a serrated grapefruit spoon, or even a melon baller. Some carving kits also come with scoops. The easiest route: Cut a hole in the bottom of your pumpkin that’s big enough to fit your hand in the pumpkin so you can get all the pumpkin flesh out.
Not sure what to do with the seeds you scoop out of your pumpkin? This Roasted Pumpkin Seeds Recipe Is the Perfect Fall Snack.
Use the right knives.
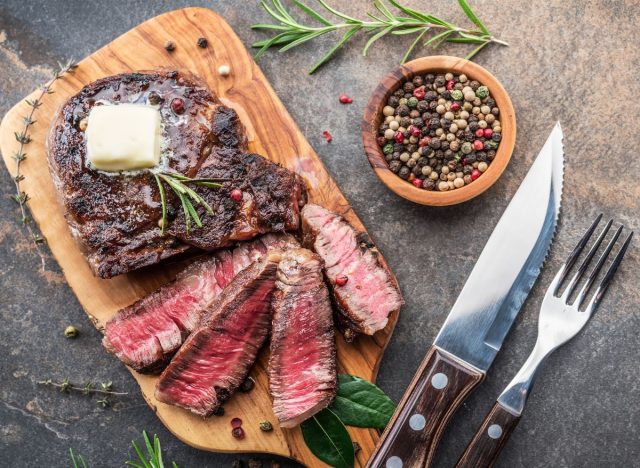
Once it’s time to carve, ditch the cheap knives that come with pumpkin carving kits, suggests carving and crafting expert Angela Poch, with HalloweenCostumes.com, which makes free pumpkin carving printables and carves plenty of pumpkins to test the designs. She prefers using serrated steak knives, and Xacto knives are perfect for more detailed designs.
Prep your pumpkin so it will glow.
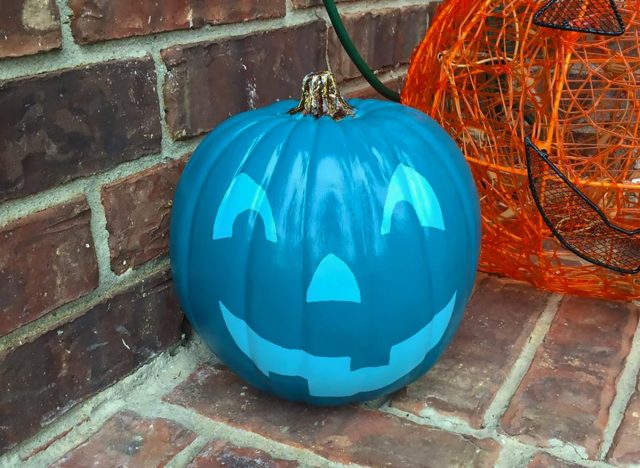
Use a scraping tool to thin out the pumpkin’s walls so that they’re no thicker than 3/4 of an inch. This will make carving easier, and it will also help illuminate your pumpkin, Poch says.
“If the pumpkin rind is too thick, you won’t see any light,” Poch says. You can keep a flashlight handy to make sure you’re on the right track, she suggests. “Dim the lights as best as you can, and shine the flashlight inside the pumpkin to make sure your design lights up properly,” she says.
Give your pumpkin a spooky glow.
If you’ll be illuminating your pumpkin with a candle (never leave it unattended!), carve a hole in the top to let your candles give off a spooky glow. But, if you plan to use electric lights, carve a hole in the bottom so you can hide the cords in your gourd. You can also wrap string lights around a glass Mason jar.
Prep your template.

Come in with a plan by making or buying a template. You can tape the template to your pumpkin or pin it with some tacks, and then use a needle tool to prick the design in the pumpkin every 1/8 inch.
Having a tough time seeing the tiny pricks? “You can also use a thin Sharpie to trace lines on your pumpkin,” Poch says.
Start carving in the middle.
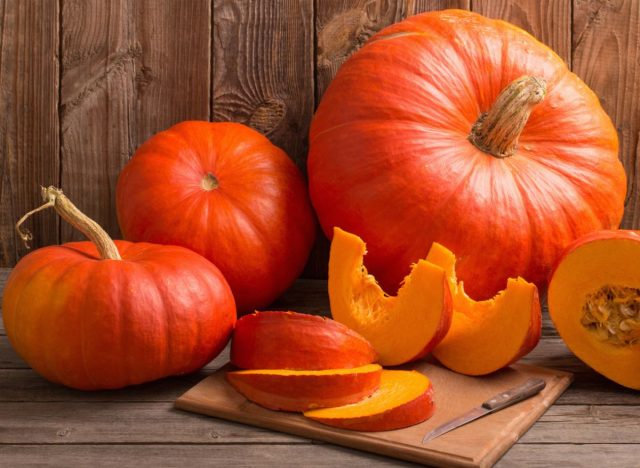
After you’ve transferred your pattern onto your pumpkin, you’ll want to start on details near the center, Poch says. It gets harder to carve these more intricate designs once the pumpkin gets weaker. Save your bigger outlines for last because they will cause the pumpkin to weaken.
You’ll want to wait until the last minute to carve.
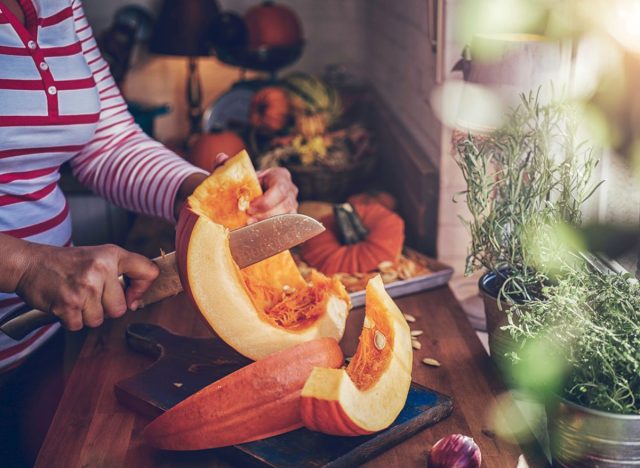
Carved pumpkins don’t have too long of a shelf (err, porch) life. It’s best to carve them just a few days before Halloween if you can.
Keep your pumpkin from decaying.
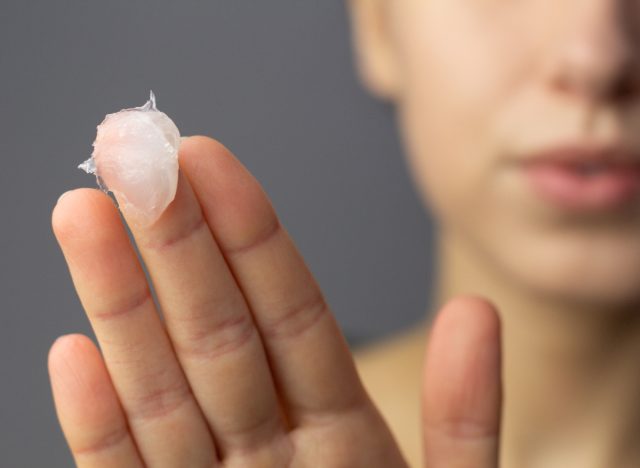
Once you’ve cut your pumpkin, you can smooth over the cuts with some petroleum jelly to prevent it from dehydrating or spray hairspray on it to stop it from decaying too quickly, according to the Farmers’ Almanac.
Save your pumpkin seeds.
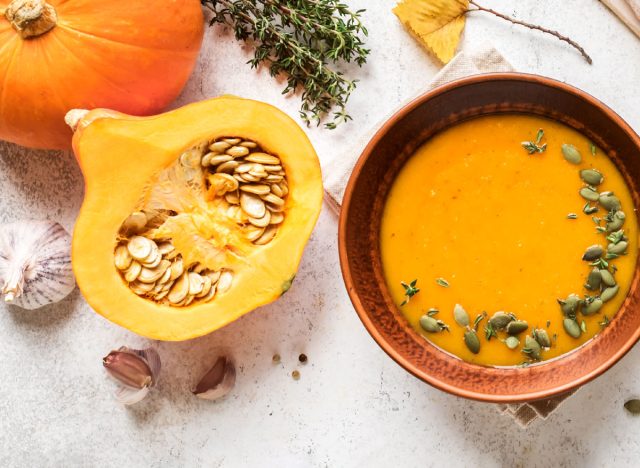
Save the seeds when you’re cleaning out your pumpkin. They make for a delicious seasonal snack, and pumpkin seeds pack a nutritious punch because they are high in protein, as well as iron, potassium, magnesium, and zinc, which is good for the immune system.
Separate the pumpkin flesh and string from the seeds, and then transfer your seeds into a mesh colander and rinse under cold water, suggests recipe developer Renata Trebing with Nourish With Renata. Place your seeds on a clean kitchen towel and pat them dry, she says.
Toast and season your seeds for a savory snack.
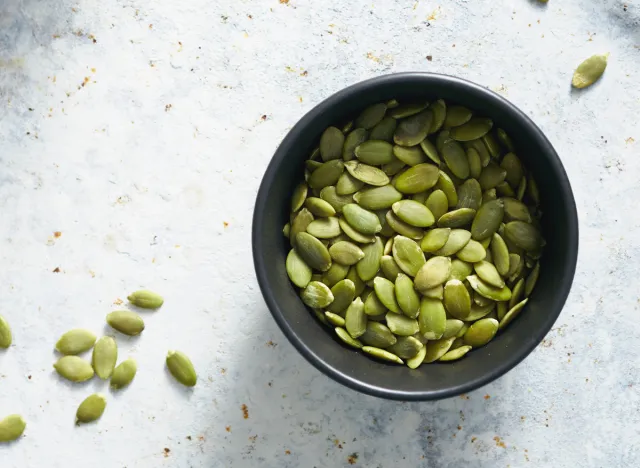
Once you’re ready to bake, pre-heat the oven to 350 degrees Fahrenheit and transfer the seeds to a cookie sheet. Then, drizzle on some olive oil and your seasonings.
Some good seasonings for roasted pumpkin seeds include everything bagel seasoning, cinnamon sugar, or even pumpkin spice. Trebing also suggests using salt and pepper, onion and garlic powder, or chili powder and dried oregano.
Make a treat with the pulp, too.
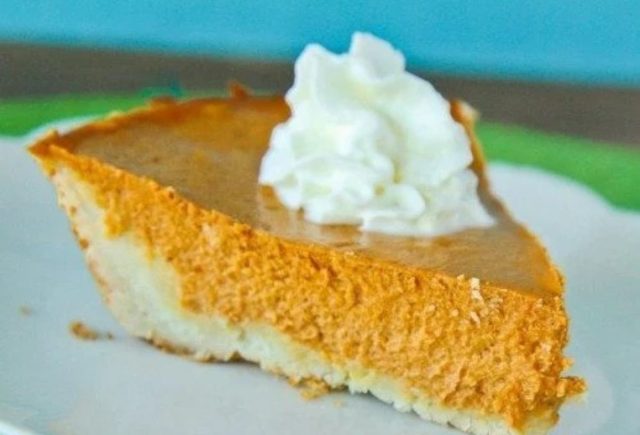
While you’ve got the pumpkin seeds covered, don’t forget about your pumpkin pulp, says Ann Kirk, the head pastry chef at Little Dom’s in Los Angeles.
“Pumpkin pulp is versatile,” she says. Roast your leftover pumpkin to soften the pulp, she suggests, then puree it and incorporate it into everything from cheesecake filling to ice cream to cupcakes to quick bread, and, of course, pie, Kirk suggests.
The pumpkin skins can make a pumpkin bark.
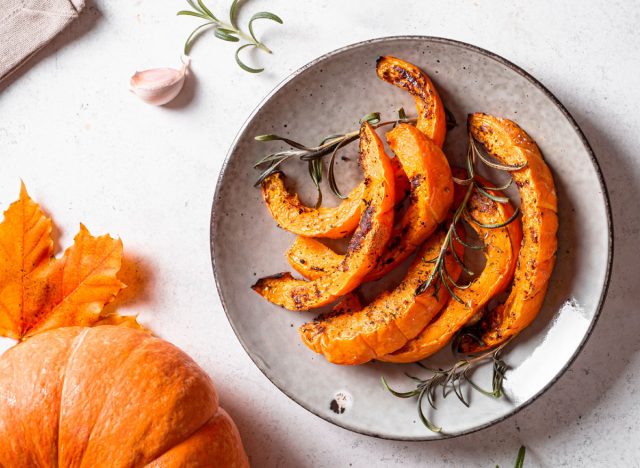
You can also get creative with the pumpkin skins, Kirk says. The dehydrated skins can be salted, spiced, or candied and used as a garnish or as “pumpkin chips” for dipping. You could also use some dried pumpkin ribbons to incorporate into a chocolate bark, she says.
Now, who’s ready to win a pumpkin carving contest? Our bet is on you.
For more, check out these 108 most popular sodas ranked by how toxic they are.