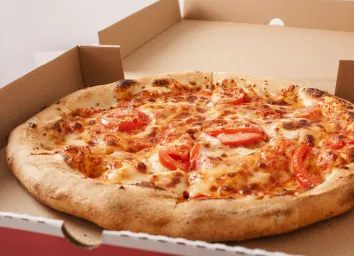
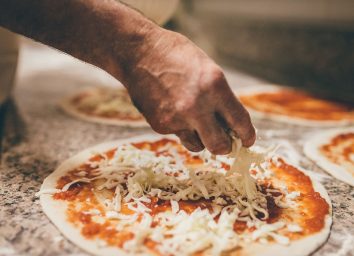
I Spent 8 Years Perfecting Homemade Pizza—Here's My Foolproof Recipe
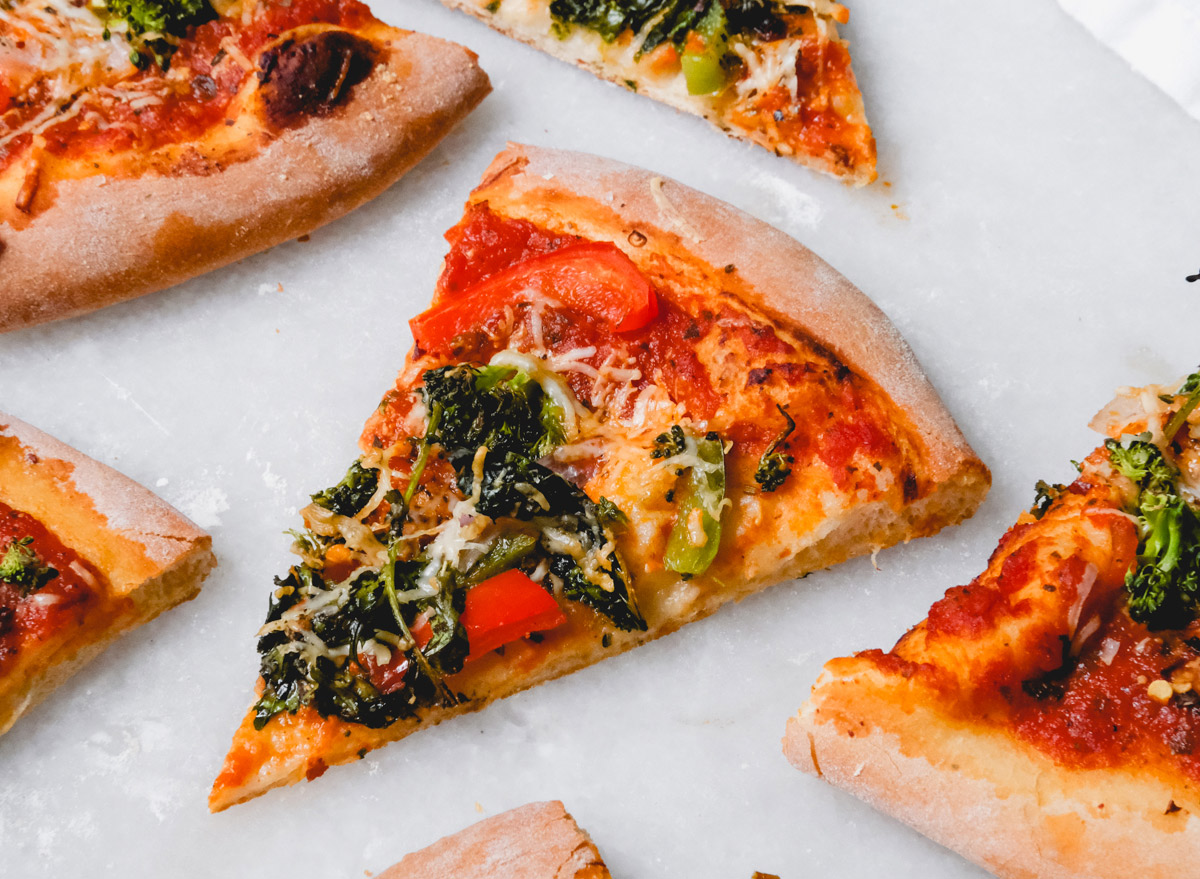
Weekends always call for pizza. It's a necessity. Friday, Saturday, Sunday—any of those days really work for divvying up slices among friends. Or simply enjoying an entire pie by yourself. No judgment here!
Sure, delivery is always an option (and Slice makes it easy to have incredible local pizza delivered right to your front door), but being someone who grew up in the northeast where pizza is essentially a food group, I took it upon myself to not only learn how to make homemade pizza…but perfect it.
Hence my journey to make the absolute best, foolproof pizza dough recipe. The type of pizza dough that would work in any kind of pan—from a pizza stone to a sheet pan, and even a cast-iron skillet. Whatever the kitchen appliance may be, I wanted to give readers (as well as myself) a homemade pizza recipe to easily rely on when the craving for pizza strikes.
And as you can see, it took a long time. Eight years, in fact.
I was on a mission to perfect the texture. I covet the artisanal pizzas that come from the little pizzerias in Brooklyn, with a crust that is perfectly crunchy yet chewy. But for years, my dough was anything but. My pizza crust came out either too hard, too soft, too crumbly, or too doughy. Some dough would work in a cast-iron skillet, some would work on a pizza pan, but it would never really work for both at the same time—and I was determined to make it happen.
So I tweaked, and tweaked, and tweaked. How much flour? Should I add sourdough or instant yeast? What kinds of flavoring does this need? Does it need a long rise or a short one? What temperature should the pizza bake in my oven? (Hint, a very high temperature, in fact).
You can just imagine the exhilaration I felt when I finally perfected my dough. I watched as my pizza bubbled up in the oven, the crust perfectly crunchy and sturdy enough to pick up a slice. I cried. Truly.
And naturally, when I go through a major journey involving my skills in the kitchen, I have to document it online. And you, dear reader, are about to benefit from eight years of trial and failure—and soon, major success. Here are all my tricks to making the absolute perfect homemade pizza pie.
And don't forget your sauce! Here's The Best Italian Pizza Sauce Recipe You Can Make at Home.
Use pizza dough flavoring.
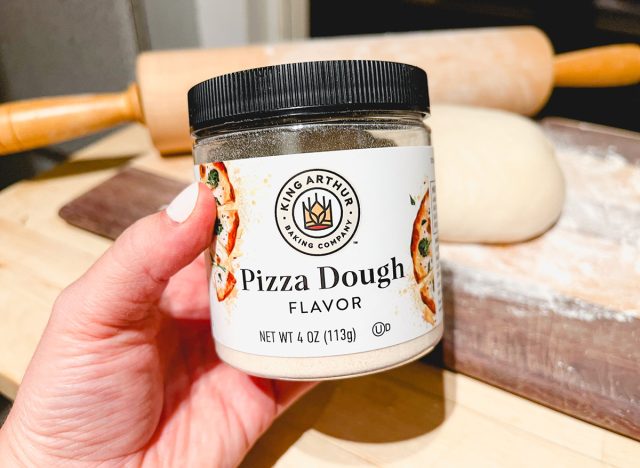
I didn't realize pizza crust had a distinct flavor until it wasn't in my dough. For years my crust was coming out quite bland, and it took me a while to notice I was actually missing an important ingredient to give my pizza dough that cheesy (yes, cheesy) flavor that we all desire. I now have a container of King Arthur Pizza Dough Flavor on hand and I add two teaspoons in my recipe.
Roll out the dough slightly first.
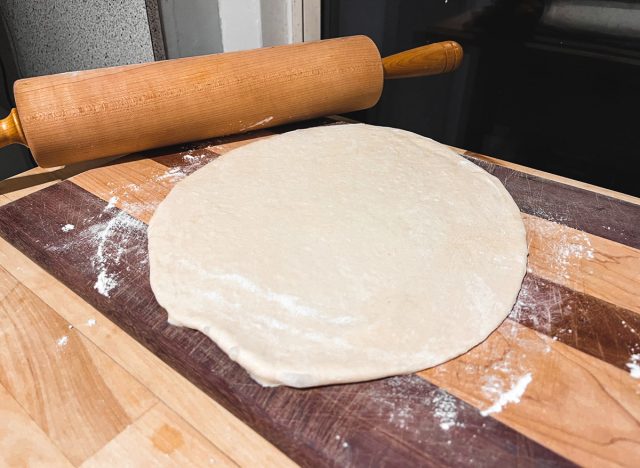
While it's fun to live our Italian pizza dreams by tossing the dough in the air, you're going to want to roll it out first. Not too much—just enough to make it easy to stretch to the size you want. When it's time to stretch, I typically do 10-inches for a cast-iron skillet (for a thicker, pan crust) or 12-inches for a pizza stone or steel (for a thin crust).
Given that this recipe makes enough dough for two personal pizzas, I would say if you are doing one large sheet pan pizza (around a half sheet), I would just leave it as one big dough ball and not divide it.
Use a perforated pizza steel.
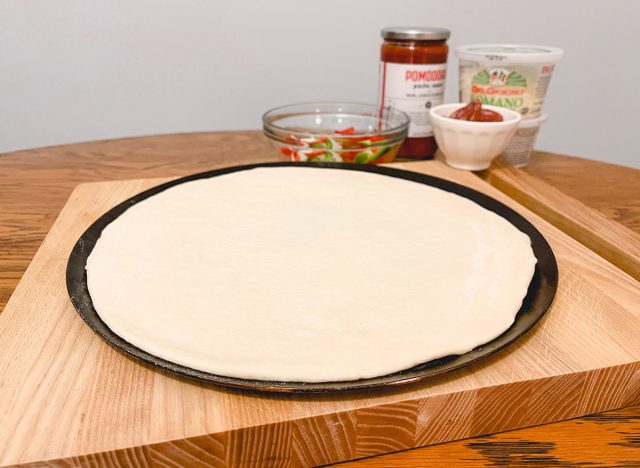
Alright I know I said this recipe is versatile for a few different kinds of pans, but I admit, I think you are going to get the best artisanal-quality pie if you use a perforated pizza steel. I use the Made In Pizza Steel, which is 12-inches with 86 perforated holes on the bottom, giving your pizza the perfect cook on the bottom. It's made of non-stick carbon steel, making it easy to slide the pizza right off when you're done.
Don't overload the toppings.
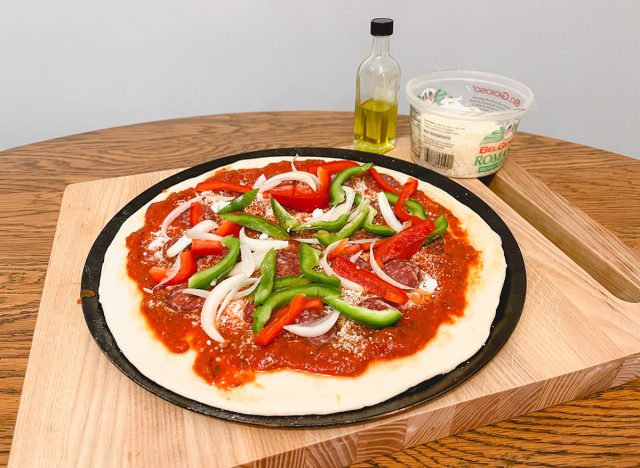
While it's tempting to just load on the toppings (no more paying for extra toppings, right?), I promise you, you're going to want to keep it light on your pie—or suffer the consequences of toppings falling all over your face later. A good rule of thumb is to not overlap a topping type. For example, layout some pepperoni first and don't overlap them. Then do the same for a few bell pepper slices, onions, and other veggies you want. And don't go too crazy on the cheese. Just a little crazy.
Need some pizza topping inspiration? Try one of these 32 Best-Ever Healthy Pizza Recipes!
Add seasonings before baking.
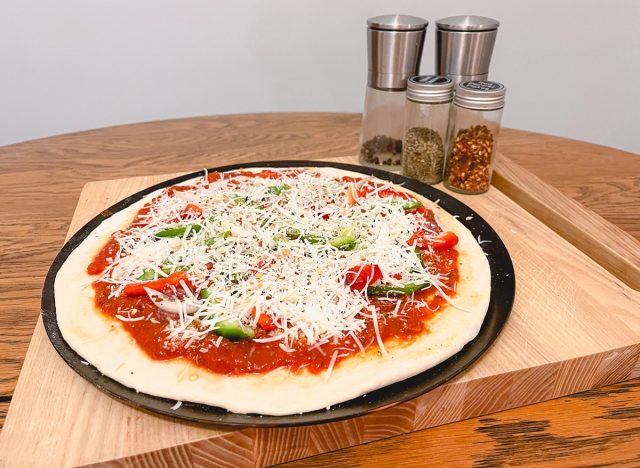
I think it just adds to the flavor! I sprinkle Italian seasoning, red pepper flakes, sea salt, and fresh cracked pepper on top of all of my pies. I also like to drizzle on the olive oil before topping with cheese so all of my veggies can get benefit from the fatty olive oil while crisping up in the oven.
Bake at 550 degrees.
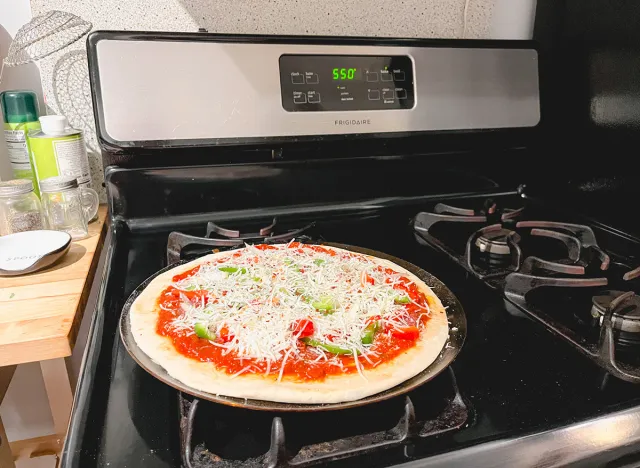
We're trying to mock a pizza oven in our houses—without going up to 900 degrees, which yes, is as hot as pizza ovens sometimes are! Pizza experts would say getting your oven as hot as you can is key, so I found that baking at 550 degrees makes for a quick, crispy pizza in just 10 or 15 minutes.
Drizzle with hot honey.
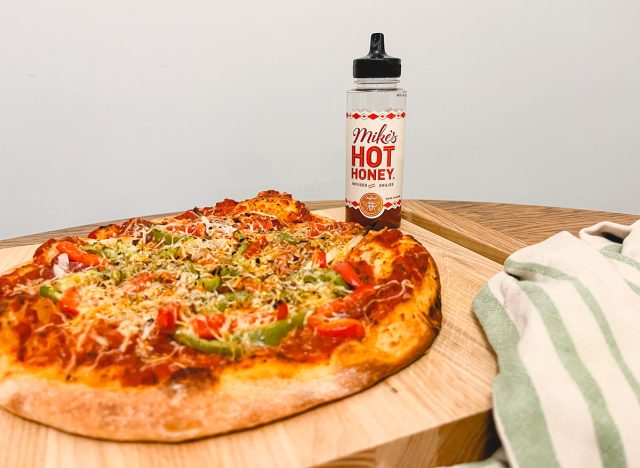
Alright, this one isn't mandatory with my foolproof method. It's just delicious drizzled on pizza—all the cool pizzerias in Brooklyn do it. I typically go for Mike's Hot Honey or Savannah Bee Hot Honey.
Pro tip: Freeze the dough!
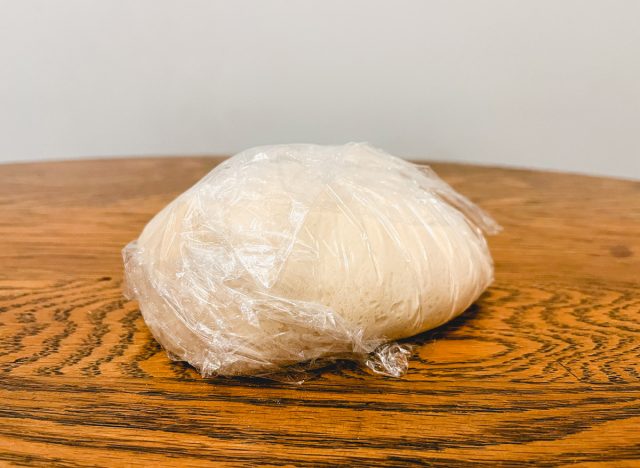
Only plan on baking one pizza? Prepping the dough for later in the week? You can freeze it! The trick is to wrap up the dough balls in plastic wrap and place them in the freezer before the second rise. Then when the craving for pizza strikes, you'll want to let the dough defrost in your fridge for 24 hours. When it's time to bake, take out the dough and place it on the counter for 30 minutes to warm up and go through a second rise before rolling it out and prepping your pie.
Here's the recipe
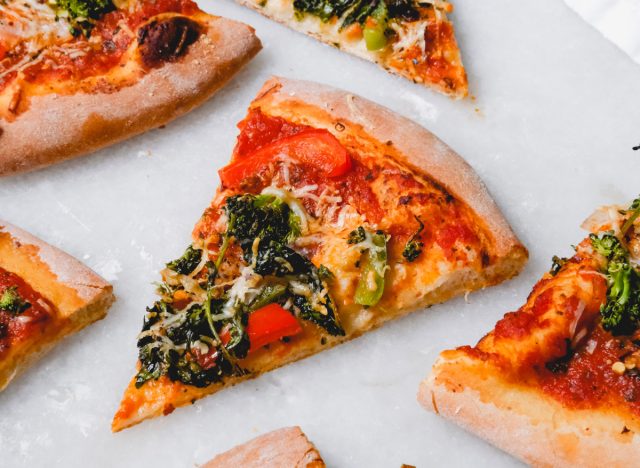
You'll Need
1 cup warm water
2 1/4 tsp instant yeast, equivalent to one packet
1 Tbsp honey
1 Tbsp olive oil, plus some extra
3 cups '00' pizza flour or all-purpose flour
1/2 tsp salt
2 tsp pizza flavor
Toppings of choice
How to Make It
- In a stand mixer, mix together the water and the instant yeast. Wait for the yeast to bloom—this should happen quickly.
- Add the honey, olive oil, flour, salt, and pizza flavor. Mix on the lowest setting with a dough hook for 5 minutes.
- Lightly brush a large mixing bowl with olive oil. Pinch the dough into a ball and place it in the bowl, then cover with plastic wrap. Let it rise for 1 hour.
- Remove the dough to a floured surface and divide it into two. Pinch the ends of each dough together then roll the two doughs into balls. Cover with the same plastic wrap and let it rise for 15 to 20 minutes. While you wait, preheat your oven to 550 degrees.
- Flour your dough individually and gently roll it out with a rolling pin into a circle. Widen the circle by holding the ends and stretching it into a 10" or 12" diameter.
- Place the dough on your pizza stone/steel, or into a cast-iron skillet. Add your desired toppings.
- Bake in the oven for 10 to 15 minutes, depending on how crispy you want it. The cast-iron skillet will likely take longer.
- Remove and let the pizza sit for 5 minutes before slicing.

