7 Mistakes Every Beginner Makes When Baking Bread

With many of us working from home and spending more time indoors due to the Coronavirus, baking is having a boom. And while we finally have the time to try out baking recipes and get in the kitchen, it can be overwhelming for those without much experience. One trendy dish people are trying for the first time is bread. Why? It only takes three ingredients—flour, water, salt—or four if you count dry yeast. It's easy to make the first time you do it, but takes some time to master, making it the perfect quarantine project. If you're intimidated about
Why is bread so notoriously difficult to make?
"That is the thing, it isn't difficult!" says Julia Calleo, founder of My Lavender Blues. "But really, the reason why I feel like bread appears to be difficult is that the directions can sometimes be incredibly intimidating:"
- "Don't kill the yeast"
- "Make sure to let the bread rise for an hour, then rise again for another hour"
- "Attach a dough hook to your stand mixer"
"Most people don't understand what any of those terms actually mean/entail, and give up before they even begin. All bread requires is time, and of course, a little bit of labor love," says Calleo.
Laura Davidson, the owner of A Beautiful Plate, agrees. "It can feel like a steep learning curve if you're new to bread baking, but it is very fun and extremely rewarding!" says Davidson. "Once you have a solid understanding of the process, it's much simpler than it appears. You just have to start!"
Before you start, consider having a few essentials.
"I recommend buying a jar of rapid rise yeast versus individual packets, and having more than enough flour to bake multiple things," says Calleo. "This leaves you with room for error and tends to give you a little more confidence knowing that, if for some reason, something goes wrong (you'll know in the beginning) then you can try, try again."
If you're baking sourdough for the first time, Calleo's advice still holds, but Davidson recommends a few extra essentials.
"While the list isn't long, you do need a few basic kitchen tools before diving into sourdough bread baking. Here is a complete and thorough list of my favorite sourdough tools and resources (for beginners and more experienced bakers)," says Davidson.
Here are 7 mistakes that you should know when baking bread for the first time.
1. You kill the yeast.
The telltale sign that you killed your yeast is an accidental unleavened bread. "Your bread will not rise if your yeast doesn't live," says Calleo. Activating or "blooming" the yeast is the first step in bread making. Instructions will tell you that you should add dry yeast to lukewarm water. If your water is too hot, you can kill the yeast. If it's too cold, your yeast won't activate.
How you can avoid it: "You don't need a thermometer. Just make sure the water isn't too hot, but isn't too cold. Just like Goldilocks and the Three Bears, you want the water to be 'jusssst right' and lukewarm (70 to 90 degrees Fahrenheit). And you won't kill your yeast. It will thrive. You've got this."
2. You use the wrong flour
"This comes down to a texture thing. And to me, bread is all about the texture. There are different gluten properties in different types of flours," says Calleo. You may not have known this until now, but there are different types of flour you can buy. They all differ based on the protein content or how finely they're milled. Your standard all-purpose flour won't do for every loaf. Make sure to read the instructions for the recipe you're making to ensure you have the right flour on hand.
How can you avoid it: "I always use bread flour when baking bread. It provides a perfect, chewy texture that you would want in any bread that you bake. So buy it. And trust me, once you start baking bread, you'll be using this way more than your all-purpose flour."
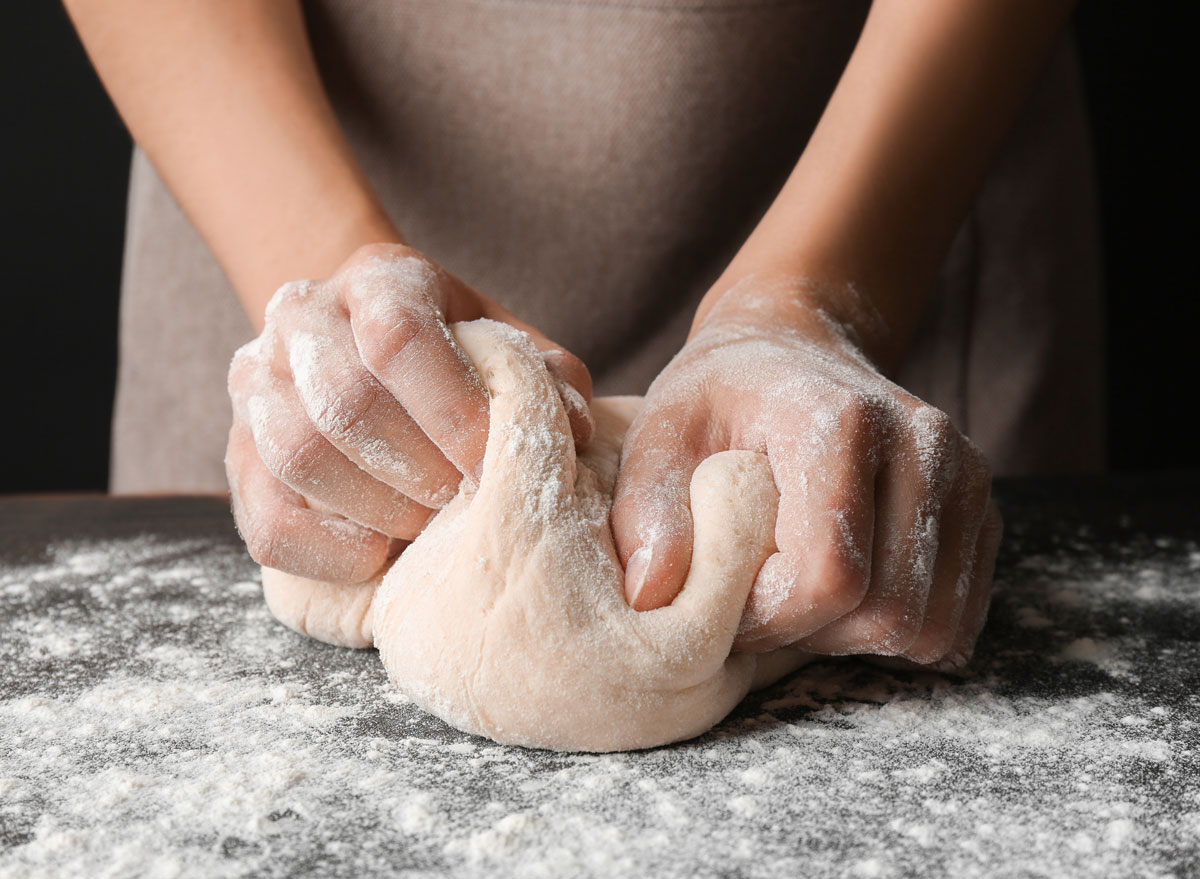
3. You knead too little
"This part is crucial for texture," says Calleo. "You want that perfect chew when you bite into your bread, so therefore you need to get the gluten proteins going and make sure they are well strengthened."
How can you avoid it: "If you are using a stand mixer, you shouldn't have a problem. Just set your timer and let the machine do the work," says Calleo. "However, if you are kneading by hand, you need to make sure that you are kneading for at least 15-20 minutes. Clear off some counter space, dust it with a little flour, put on a podcast or some good music, and you'll be just fine."
4. You cut the rise, or "proof," short
The rise or "proof" is the time it takes to let your yeast grow and start breaking down, or fermenting, the flour in your dough. "Want that fluffy homemade bread you've always dreamed of? Then you must let your dough rise," says Calleo.
"Poor fermentation and under-proofing, which is often the result of a weak or young sourdough starter, results in dense, gummy, and poor crumb structure. This is a very common mistake for beginners," says Davidson.
How can you avoid it: "Your yeast needs time to grow and rise within the dough before it is baked. If you cut the rise time short, your yeast will die off before the bread can rise in the oven when being baked," says Calleo. "The longer the yeast has to rise before being baked, the more gas the dough will have, which creates the nice little pockets of bubbles you see in homemade bread. So without giving it time, you will create a flat dull piece of bread as an end result, and nobody wants that."
"It's really important to observe your dough and use that as your guide. Recipes can provide rough timelines, but that's it," says Davidson. "Adjustments will always need to be made to suit your specific baking environment (is your kitchen cool? warm?) and yeast strength."
5. You bake with a brand new or sluggish sourdough starter
"Once you first see signs of life in your sourdough starter, it's common to want to bust out the flour and start baking your first loaf. There is nothing wrong with that, but it often leads to disappointing bakes. Since sourdough is naturally leavened, it is extremely important to have a mature, active sourdough starter (that is rising and falling predictably) before baking. Young or under-developed starters will result in poor fermentation and gummy, dense loaves."
How can you avoid it: "Allowing your sourdough starter to fully mature, which takes at least one to two weeks if you've just made one from scratch," says Davidson. "It should be rising and falling on a predictable schedule and require roughly 2 feedings a day."
6. You sliced into warm bread
"Slicing warm bread, while extremely tempting, affects its texture and flavor," says Davidson. "The bread will be gummier and less airy, and will stale and dry out much faster."
How can you avoid it: "Allow your loaves to cool completely on a rack before storing or slicing. This will take several hours," says Davidson.
7. You keep getting easily discouraged
"Baking fails are part and parcel of every sourdough baking journey. Embrace it and just keep baking," says Davidson. "You'll learn and become more confident with every additional loaf you make."
How can you avoid it: Be patient. "Everything in life takes practice and dedication," says Davidson.
Time to bake! Here are 3 easy bread recipes for beginners.
Take a stab at one of these easy bread recipes.
1. Oven-Baked Buttermilk Loaf Bread
"This is definitely the most classic bread recipes to start with, and one of my all-time favorites. Great for soups, sandwiches, snacking, and every person in your household will love it. Plus, your place will smell fantastic," says Calleo. "This classic can be made in under three hours. (As in, from start to finish, with time to spare in between, and who doesn't have time to spare?) All of the ingredients are available at any grocery store, so you shouldn't have a problem tracking them down. The directions are simple and straightforward. This will be the gateway to your bread baking obsession."
2. Sun-dried Tomato Stuffed Artisan Bread
"Don't let the stuffy title throw you off. This recipe is incredibly simple. And the sun-dried tomatoes are completely optional. You can stuff this bread with anything (What about those olives that have been sitting in your fridge for a year? Or some dried herbs? Anything goes.)," says Calleo. "Or keep it plain and simple! The directions are so easy to follow, and do not be intimidated by the multiple 'rise' times. (That's when you punch your dough down, and then let it hang out for an hour.)"
3. Easy Nordic Pizza Dough
"By far one of the most overused recipes in my household. Because who doesn't love pizza?" says Calleo. "I use this recipe whenever I realize half of my produce is about to spoil and so it all turns into toppings for my pizza. Plus, it's quick and simple. So the plan ahead time is minimal (less than an hour)."


